Configuring UltraDNS Realtime Push Notifications - Webhooks in Splunk
Completed
UltraDNS can provide event notifications via push notifications, also called webhooks. This allows us to integrate into several event-management platforms, including Splunk. This guide will walk you through configuring Splunk to receive change and event notifications from UltraDNS.
For Splunk to receive notifications from UltraDNS, you need to configure the Splunk Enterprise HTTP Event Collector (HEC) in your Splunk instance. The steps to configure HEC can be found in the Splunk Enterprise Documentation at https://docs.splunk.com/Documentation/Splunk/8.2.1/Data/UsetheHTTPEventCollector#Configure_HTTP_Event_Collector_on_Splunk_Enterprise
Splunk Configuration
- From the Splunk Web Interface, click on Settings, and then select Data Inputs.
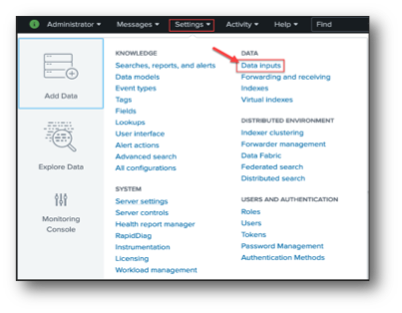
Figure 1: Splunk Webhook Configuration - Splunk Settings
- Click +Add New for the HTTP Event Collector.
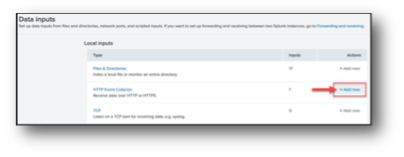
Figure 2: Splunk Webhook Configuration - Data Input
- Provide a Name for the collector and complete the additional required fields. Click Next at the top of the screen when finished.
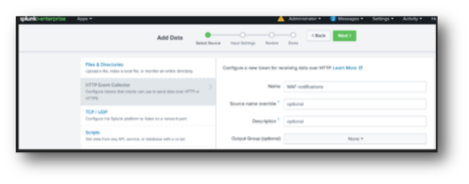
Figure 3: Splunk Webhook Configuration - HTTP Event Collector
- Select the Input Settings and choose the Indexes where the HEC event can be searched.
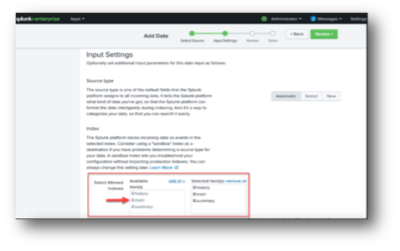
Figure 4: Splunk Webhook Configuration - Input Settings
- Click Review at the top of the page. Once you have reviewed your configuration settings, click Submit.
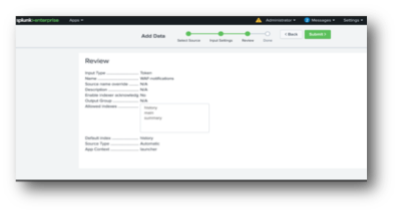
Figure 5 Splunk Webhook Configuration - Review Setup
- Copy the Token Value that has been created, as you will need it to authenticate your webhook notifications.
Note: The Splunk administrator may need to set the Splunk configuration to allow query string authorization.
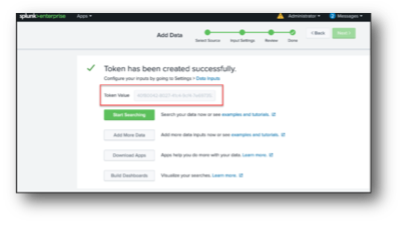
Figure 6: Splunk Webhook Configuration – Token Value
You can test your Splunk HEC using the following curl command by substituting in the FQDN of your Splunk server and your (copied) HEC Authorization Token.
curl -k https://hec.example.com:8088/services/collector/raw?token= B5A79AAD-D822-46CC-80D1-819F80D7BFB0 \
-d '{"event": "hello world"}' 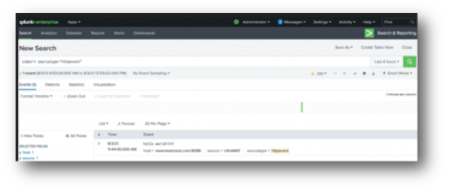
Figure 7: Splunk Webhook Configuration - Test Connection
Please note that you can also filter for these events using the sourcetype, source, and host parameters in a search from the Splunk Dashboard.
UltraDNS Managed Services Portal Configuration
Configure Realtime Push Notifications in UltraDNS by using the UltraDNS Managed Services Portal.
NOTE: Administrative user privileges are required to configure the Realtime Push Notifications on the UltraDNS portal.
- Once you are logged into the portal, navigate to Accounts on the left-hand navigation menu.
- Select the Account Name.
- Select Notification Settings from the list of available features.
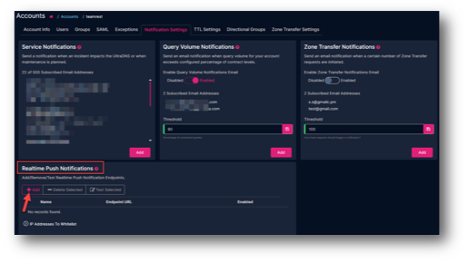
Figure 8: UltraDNS Portal- Add Realtime Push Notification
- In the Realtime Push Notifications section, click the Add button to configure a new endpoint.
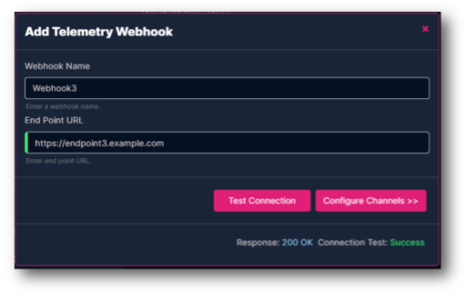
Figure 9: UltraDNS Portal - Configure Webhook
- Create a Webhook Name, and then enter the Endpoint URL.
- The Endpoint URL must begin with https.
The Endpoint URL will be a combination of the URL that was configured from the Splunk HEC setup steps, and the Splunk authorization token added to the URL as a parameter. For example:
hec.example.com:8088/services/collector/raw?token=B5A79AAD- D822-46CC-80D1-819F80D7BFB0 - Click the Test Connection button. You need to have a successful connection test before proceeding to the channel configuration.
- Click Configure Channels once your Connection Test displays Success.
- Select the Channels and Events you want to receive notifications for from the list of available options.
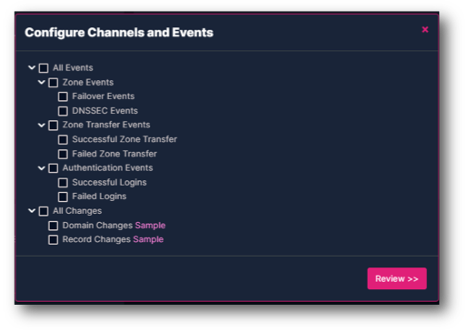
Figure 10: UltraDNS Portal - Configure Channels and Events
- Review and Save your webhook configuration.
- Make sure your new configuration is set to Enabled to begin receiving notifications.
The UltraDNS service is now configured to send notifications to your Splunk system. At any time, you can test the connection or turn the notifications off through the UltraDNS Portal interface.